Add bunker profiles through the iPhone app or Admin portal. Edit the bunker profile through the Admin portal.
Video Tutorial: Adding a Bunker in SR Measure #
Video Tutorial: Adding a Bunker in the Web Dashboard #
Add a Bunker Profile #
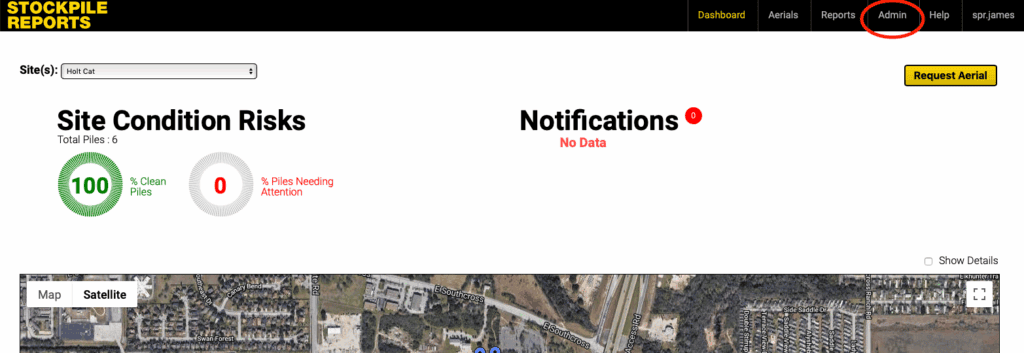
- Click on the Admin tab.
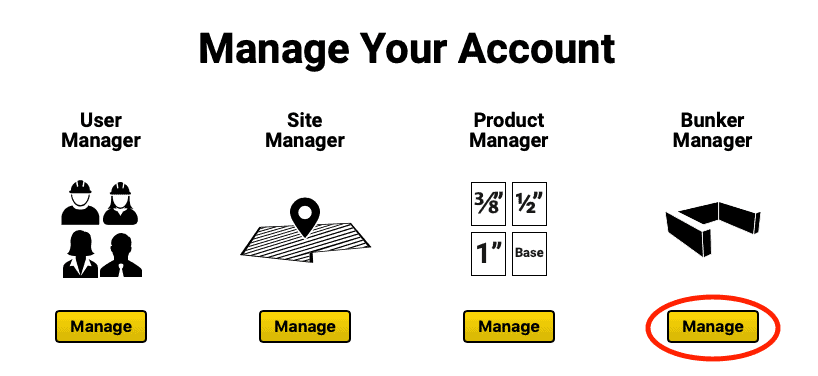
- Click the Manage button under the Bunker Manager icon.
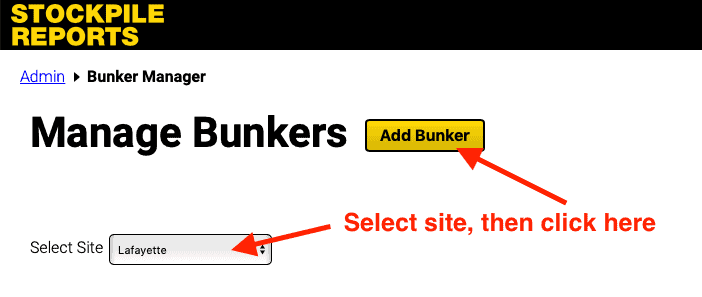
- Select the site for the new bunker and click the Add Bunker button to bring up the new bunker profile form.
- Fill out the new bunker profile form following the guidelines below.
- Location: Select the site at which the bunker is located.
- Position the Bunker Pin: Move the red pin over the location of the bunker on the map.
- Bunker Identifier/Name: Name the bunker profile to identify in the app and on the measurement report.
- Notes: Any specific notes about the bunker.
- Is the Bunker Indoor? Select Yes if the bunker is inside a building or semi-enclosed with an overhead roof or awning.
- Bunker Structure Type: Choose one, two, or three sided bunker. Bunkers may not have more than three sides.
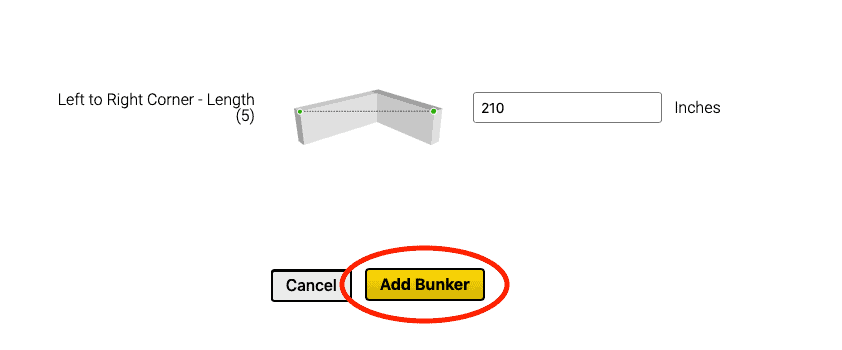
- Bunker Measurements: The internal length, width, and height of each wall as depicted in inches or centimeters (inches for users in the US, centimeters for users outside the US).
- After completing the Bunker Profile, click the Add Bunker button at the bottom of the page to add the bunker to the site’s bunker list.
Edit Bunker Profile #
- From the Web Dashboard, click Admin → Manage under Bunker Manager.
- Find your bunker in the list and click Edit.
- Move the pin, update the name, number of sides, and dimensions as needed.
- Click the Update button at the bottom of the page to save the changes.
Delete a Bunker Profile #
- From the Web Dashboard, click Admin → Manage under Bunker Manager.
- Find your bunker in the list and click Edit.
- Scroll down to the bottom of the edit form and click the Delete button to delete the bunker profile, then click Yes, delete! to confirm.