Admins can add, edit, or delete sites in your account. You can also update site boundaries, assign products, and manage contact information for each site.
Video Tutorial #
Adding a New Site #
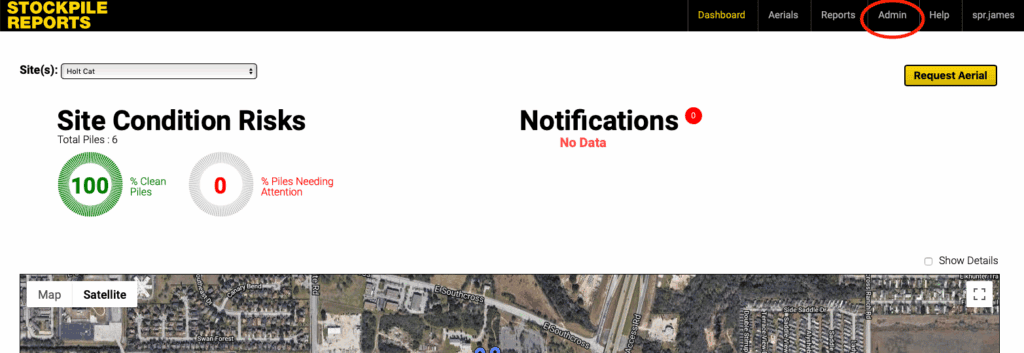
- From the Stockpile Reports Web Dashboard, click the Admin tab.
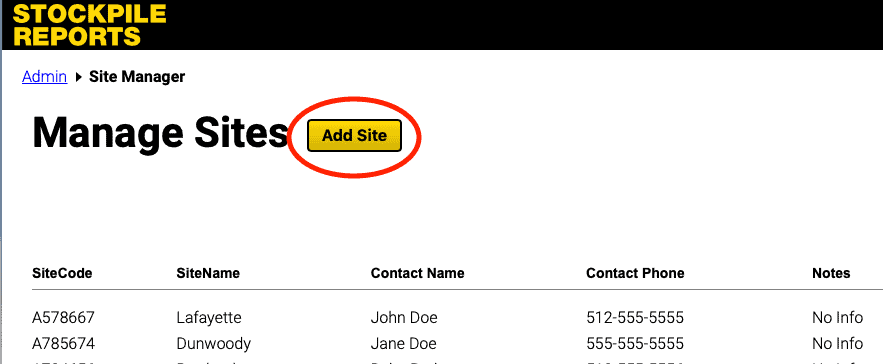
- Under Site Manager, click Manage.

- Click the Add Site button to open the site form.
- Complete the site form using the following guidelines:
- Site Name – Enter a descriptive name.
- Site Code – A unique code (no spaces or special characters).
- Street Address, City, State/Region, Zip, Country – Required for Full-Service Aerials.
- Contact Name & Phone – Recommended for Full-Service Aerials.
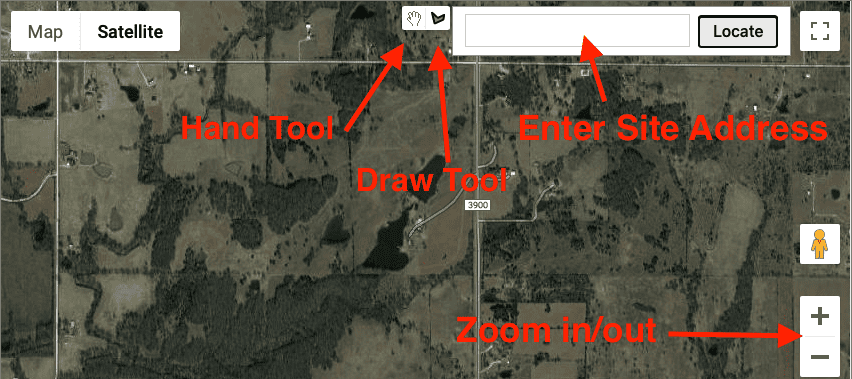
- Site Perimeter Boundary – Use the map to draw the entire site boundary.
- Site Belongs To – Select the region or company name.
- Active – Check to make the site available.
- Products at This Site – Select existing products or add new ones.
- Click Add Site to save.
Updating Site Information #
- From the Web Dashboard, click Admin → Manage under Site Manager.
- Find your site in the list and click View/Edit.
- Update any details: site address, boundary, products, or contact info.
- Click Update Site to save changes.
Deleting a Site #
- From the Web Dashboard, click Admin → Manage under Site Manager.
- Find the site in the list and click View/Edit.
- Scroll to the bottom of the form and click Delete.
Deleting a site will permanently remove it and all associated piles. Consider deactivating a site instead if you may need it again later.